SC M37

Build and Restoration Threads Belong Here

Moderators: Cal_Gary, T. Highway, Monkey Man, robi

User avatar
sturmtyger380
SFC
SFC
Posts: 573
Joined: Sun Oct 21, 2007 5:13 pm
Location: Up State SC

Re: SC M37

Post by sturmtyger380 »

After a number of weeks, the transfer case is done!

Image

And now installed back in the truck:

Image

I got the engine back from the machine shop. I need to check the seating of the valves now that there are new valve guides.

Image

Image


Clean rear drive shaft ready for new U joints:

Image

It’s nice to open NOS U joints and see now nice they are:

Image

Rear Drive Shaft with new U joints installed and primed:

Image

Rear Drive Shaft done:

Image
47 CJ2A
53 M38A1
52 M37
51 M38
67 M416
?? M101A1
Elwood
MSGT
MSGT
Posts: 937
Joined: Mon Oct 24, 2011 9:34 am
Location: Water Winter Wonderland

Re: SC M37

Post by Elwood »

Really nice work.

Was your engine sleeved when you disassembled it, or did you have your machine shop do that work?
“When a long train of abuses and usurpations, pursuing invariably the same Object evinces a design to reduce them under absolute Despotism, IT IS THEIR RIGHT, IT IS THEIR DUTY, TO THROW OFF SUCH GOVERNMENT...” -Declaration of Independence, 1776
Kaegi
SFC
SFC
Posts: 517
Joined: Sat Mar 05, 2011 5:44 pm

Re: SC M37

Post by Kaegi »

everything looking great! dont throw away the old ujoint snap rings! if you bought new ujoints the snap rings tend to be too thin. that allows the ujoint to slide out of where it should be. NOS ujoints should have correct thickness. the old ones you have are easier to service with the bent out ends
Cal_Gary
Moderator
Moderator
Posts: 4241
Joined: Mon Oct 22, 2007 5:51 am
Location: Draper, Utah

Re: SC M37

Post by Cal_Gary »

Excellent work, and great photos!
Gary
Cal_Gary
1954 M37 W/W
MVPA Correspondent #28500
User avatar
sturmtyger380
SFC
SFC
Posts: 573
Joined: Sun Oct 21, 2007 5:13 pm
Location: Up State SC

Re: SC M37

Post by sturmtyger380 »

Elwood wrote:Really nice work.

Was your engine sleeved when you disassembled it?
It was sleeved. There was a rebuild tag pinned on the side of the block from the 1970's. I am guessing back then it was bored and standard sized sleeves were installed.

I took the block to an older machine shop, the guy has worked on these 230ci engines, mostly from forklifts. He said he could over bore the sleeves. I went .030 over.
47 CJ2A
53 M38A1
52 M37
51 M38
67 M416
?? M101A1
NAM VET
1SG
1SG
Posts: 1118
Joined: Mon Aug 22, 2016 6:27 am

Re: SC M37

Post by NAM VET »

my engine was sleeved at some point in its past life, no rebuild tag on the block. I suspect not done at army Depot Maintenance shop, My machine shop pulled and replaced one sleeve, bought from a vendor, came in the original packaging. If you do a forum search, there is a lot of info on sleeving these Motors, mostly by M37 Rebuild's shop up in Norwood NC.

'Going to buy more chain and finish airing up my new NDT, I have a remote air chuck. Ring looks to be well seated on the rim. Then take it to a local truck tire shop to have it balanced. Will clean and repaint the drum before I mount it back on my truck. Move that tire to the bed spare. My 37 starts and runs fine now, since I put a new electric Facet fuel pump on, and re set my carb's float level. Hal
User avatar
sturmtyger380
SFC
SFC
Posts: 573
Joined: Sun Oct 21, 2007 5:13 pm
Location: Up State SC

Re: SC M37

Post by sturmtyger380 »

Back to working on the truck this summer. I decided I like the way the high back Humvee seat sits better than the old springs in the old seat. Here is the bottom of the seat to try and figure out how to mount it.

Image

Here are the seat runners that came with my truck. I hated to cut these up to change the mounting for the high back seat.

Image

So, I pulled off some old runners I will clean up from one of the junk trucks.

Image

With the runners mounted without the sliding part the seat sits lower.

Image
47 CJ2A
53 M38A1
52 M37
51 M38
67 M416
?? M101A1
User avatar
sturmtyger380
SFC
SFC
Posts: 573
Joined: Sun Oct 21, 2007 5:13 pm
Location: Up State SC

Re: SC M37

Post by sturmtyger380 »

The work on fixing and prepping the cab is done so on to priming it:

Image

Image

Since I was going to paint the cab the final color I got my tail lights ready to paint too. Here I painted the interior white:

Image

The outside got primer:

Image

I needed to mask the Gama Goat lenses:

Image

Image

All painted:

Image

Now time to paint the cab. I decided to use a Wagner Power painter and the Behr HD paint.

Image

The cab with all its dents and wrinkles turned out good:

Image

Image

Image
47 CJ2A
53 M38A1
52 M37
51 M38
67 M416
?? M101A1
User avatar
m-37Bruce
1SG
1SG
Posts: 2340
Joined: Fri Oct 19, 2007 8:21 pm
Location: Midlothian,VA

Re: SC M37

Post by m-37Bruce »

Looking good, I've got a set of the Goat lenses, love 'em!
Bruce,

1953 M-37 w/ow

Retired Again

Keep Em Rollin'

VMVA
User avatar
sturmtyger380
SFC
SFC
Posts: 573
Joined: Sun Oct 21, 2007 5:13 pm
Location: Up State SC

Re: SC M37

Post by sturmtyger380 »

Like in the past I get distracted by other projects that I have going. I finally decided to finish the gas station light project I started years ago. What sparked it back to life was I found a guy in Fort Wayne In. that makes the sign. It’s a foam core with metal on both sides, so it’s not a heavy as the old porcelain signs.

Image

Once that was done, back to the truck! Installed the cowl vent. It turned out looking good!

Image

Image

I got the seat installed. Then pulled it out until the body is more done.

Image

The Driver and Passenger taillights are installed.

Image

Working on the instrument panel.

Image

Stripped. Found the original decals for the high beam and fuel. Ever wonder why only the fuel gauge has a decal to identify it? Maybe that’s the only one the Army thinks the Driver should care about?

Image

Image

Engine parts all laid out.

Image

NOS connecting rods from John Bizal.

Image

Using the valve seat cutter.

Image

I forgot to take photos of the seat grinding process. But here is the finished seat and the valve lapped in.

Image

Image

Got the cam bearings out to drive in and decided to assemble the liters instead.

Image

Image
47 CJ2A
53 M38A1
52 M37
51 M38
67 M416
?? M101A1
greeno
SGT
SGT
Posts: 235
Joined: Tue May 29, 2012 9:32 am
Location: Monticello, MN

Re: SC M37

Post by greeno »

The guy who rebuilt my 230 took great pains to balance the con rods. He said it was the best thing to do for these motors.
M37
YEAR: 1954
NAM VET
1SG
1SG
Posts: 1118
Joined: Mon Aug 22, 2016 6:27 am

Re: SC M37

Post by NAM VET »

Yeah, I think balancing the rods can be helpful for engine longevity. Not to mention a bit smoother. My engine is balanced too. My truck sure seems to have more power here in hilly Lexington SC than I remember. Maybe fixing the barely adequate fueling before I put in the new big in-tank filter really let my motor romp. hal
Cal_Gary
Moderator
Moderator
Posts: 4241
Joined: Mon Oct 22, 2007 5:51 am
Location: Draper, Utah

Re: SC M37

Post by Cal_Gary »

Lookin' good!
Gary
Cal_Gary
1954 M37 W/W
MVPA Correspondent #28500
User avatar
sturmtyger380
SFC
SFC
Posts: 573
Joined: Sun Oct 21, 2007 5:13 pm
Location: Up State SC

Re: SC M37

Post by sturmtyger380 »

Time for an update!

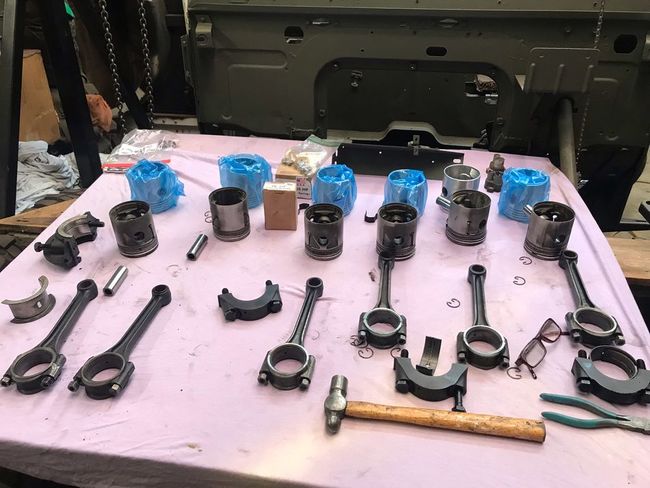
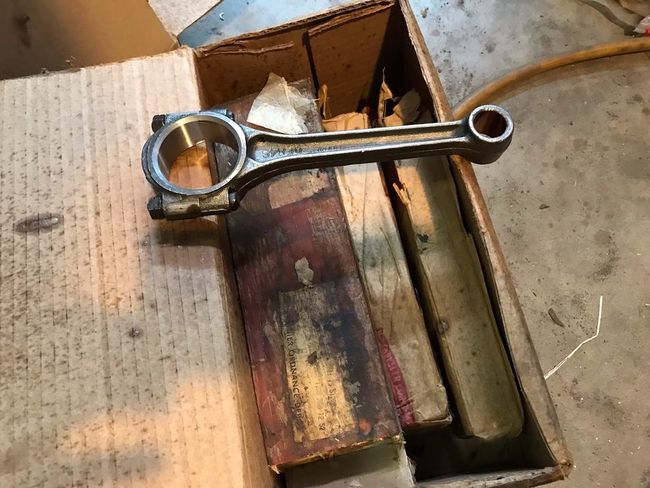
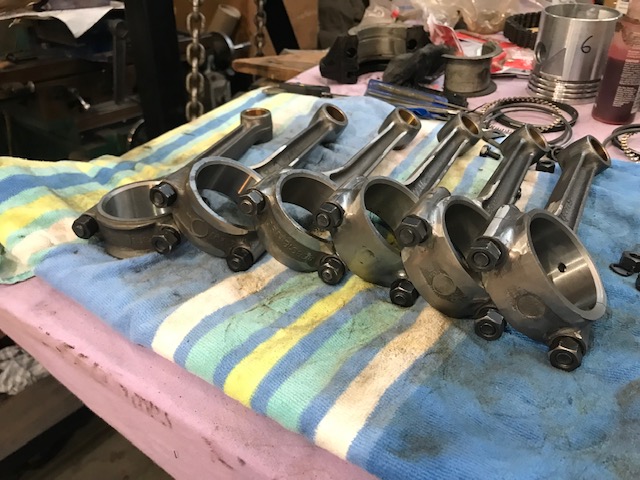
Nice NOS connecting rods all ready to balance:

Image

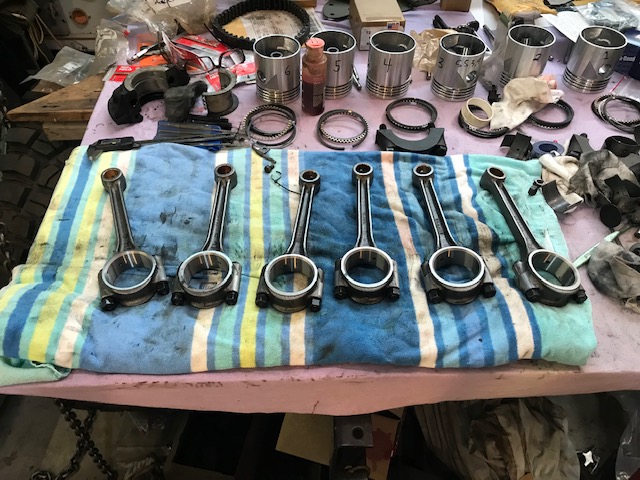
This fall I worked on balancing the pistons and the rods.

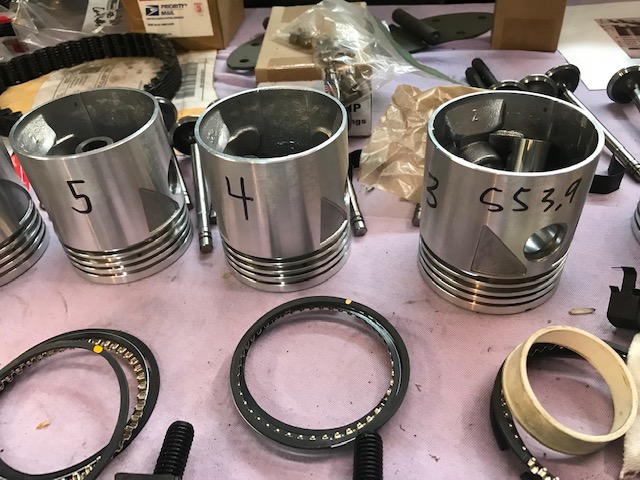
Weighing the pistons, rings, pins and pin retainers to find the best combination:

Image

Now that all the pistons are balanced on to the connecting rods.

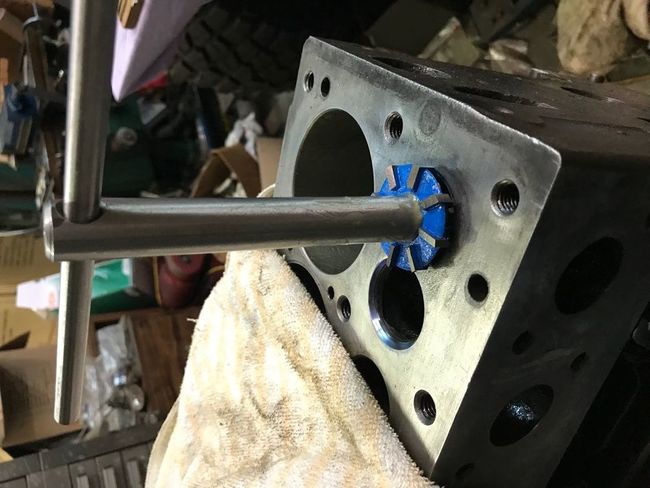
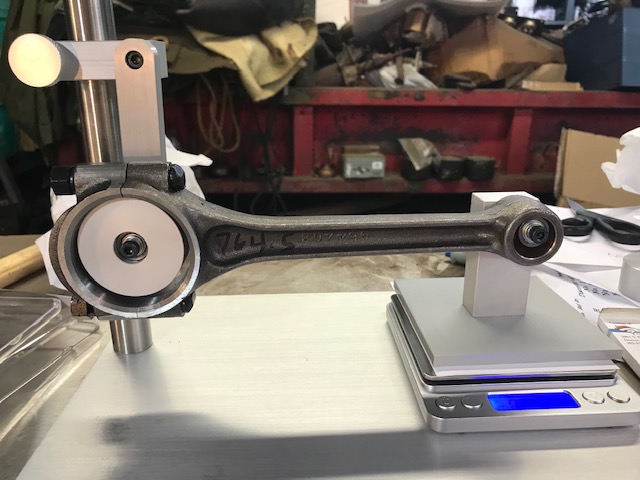
Balancing the small end first:

Image

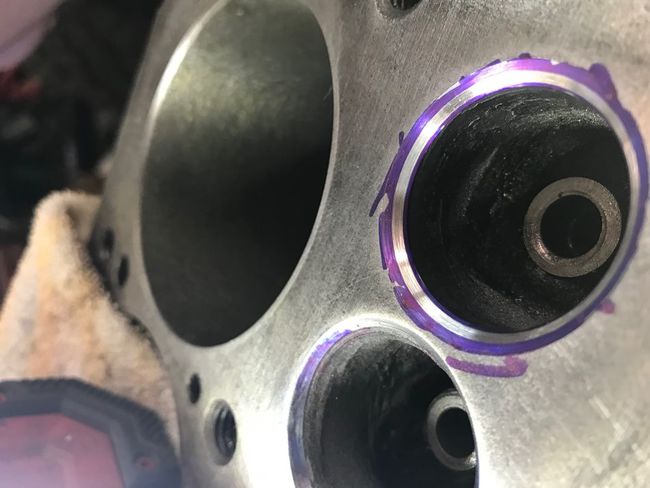
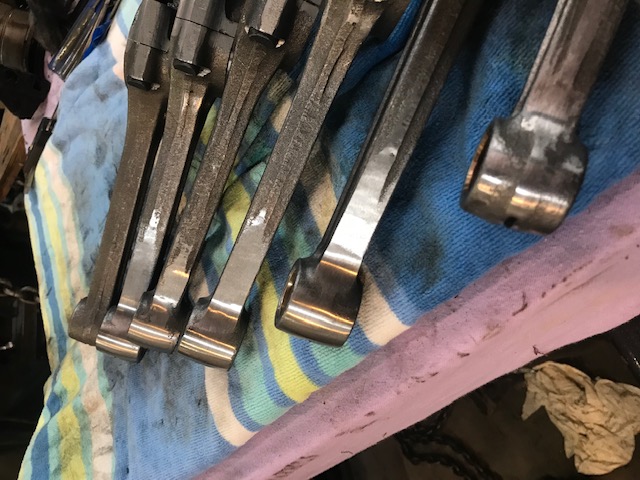
Small ends with material removed and balanced:

Image

Now the total weights are matched:

Image

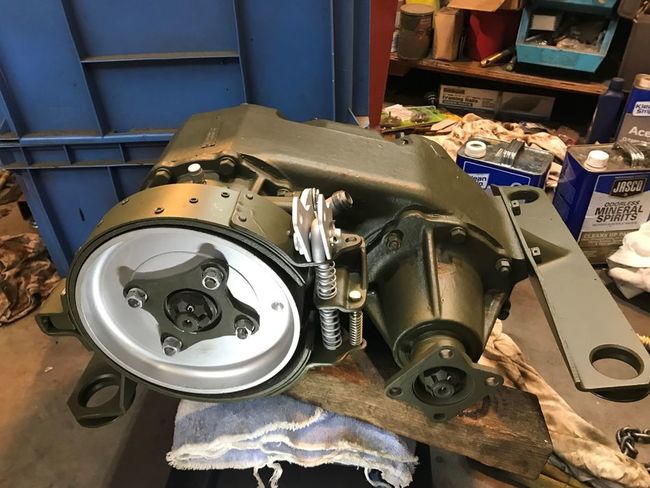
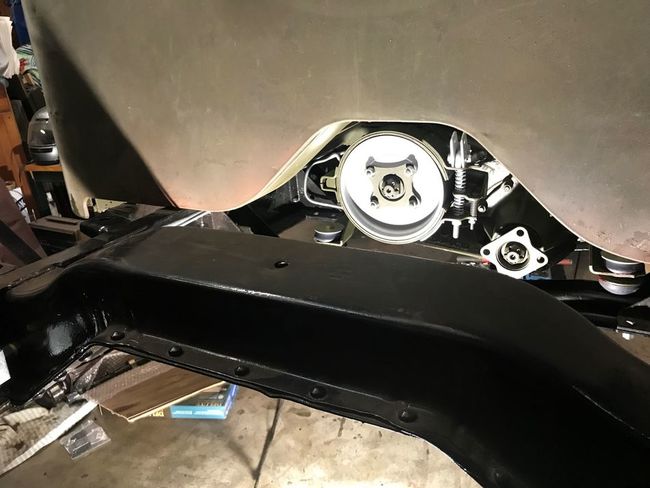
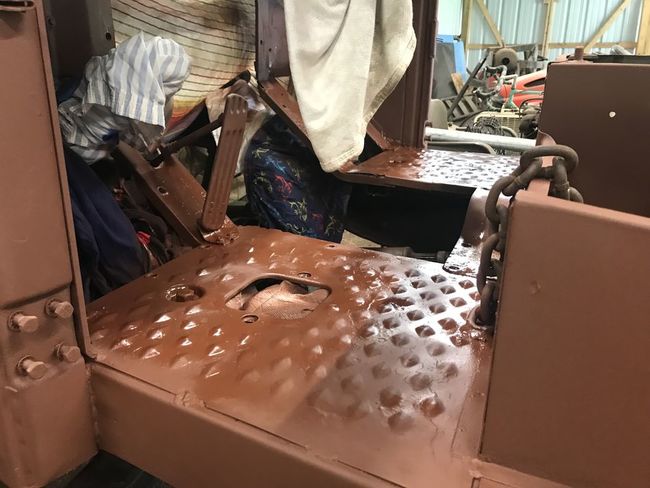
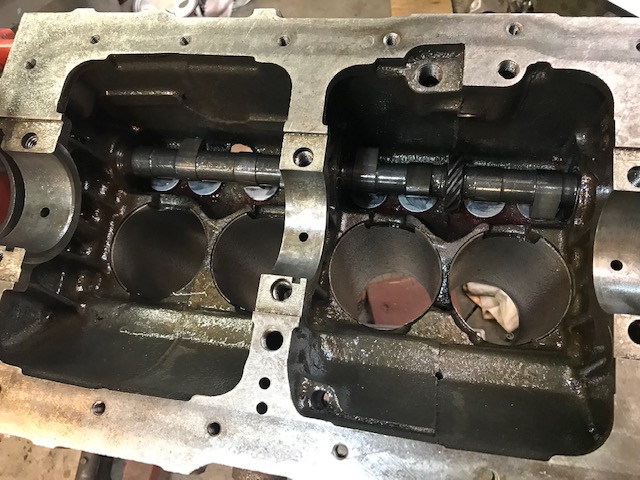
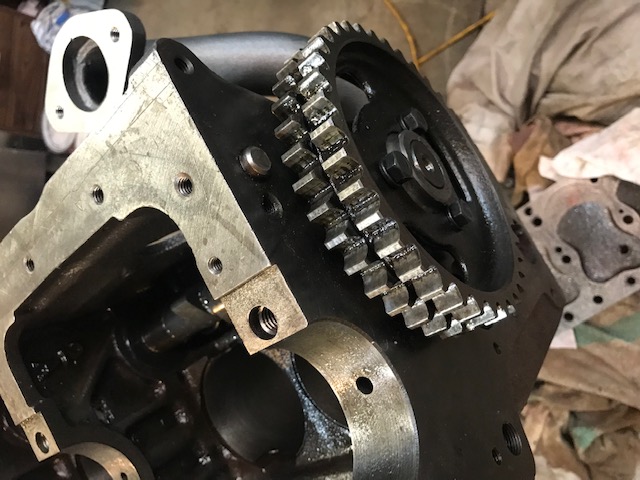
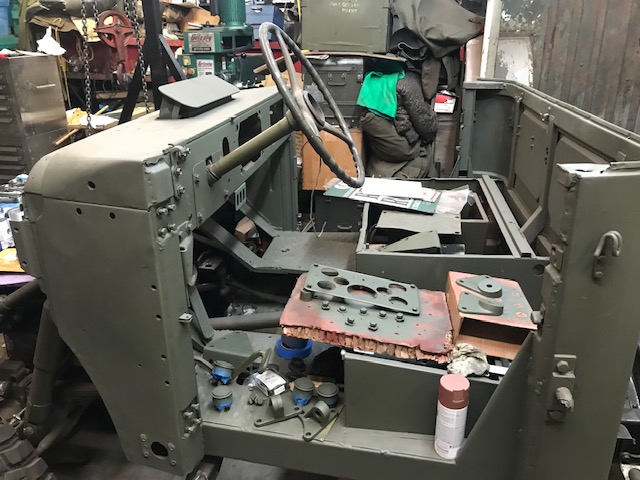
Worked on installing the camshaft:

Image

Image

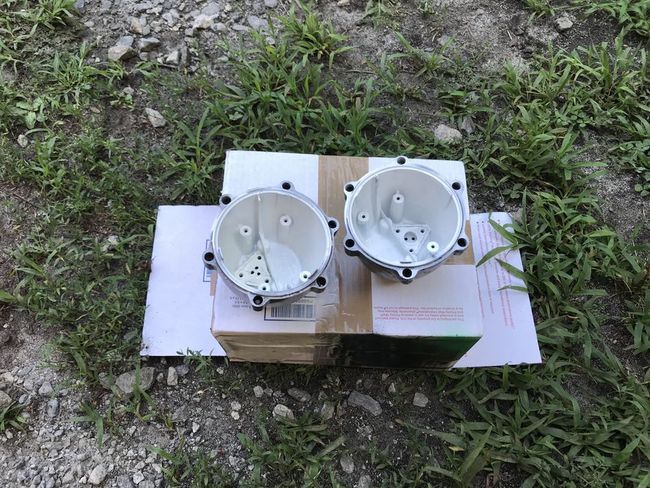
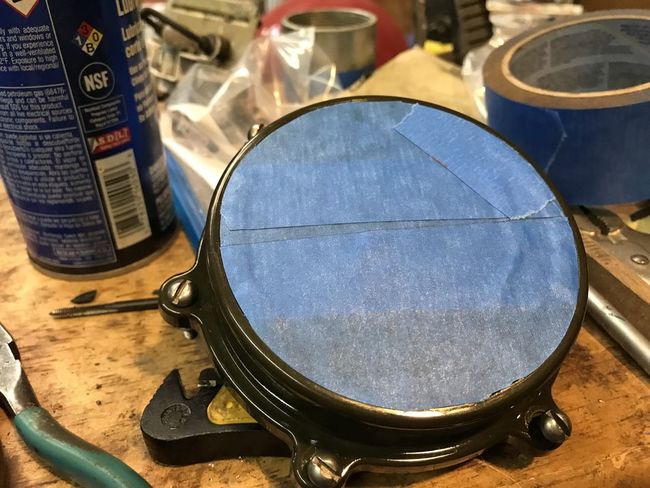
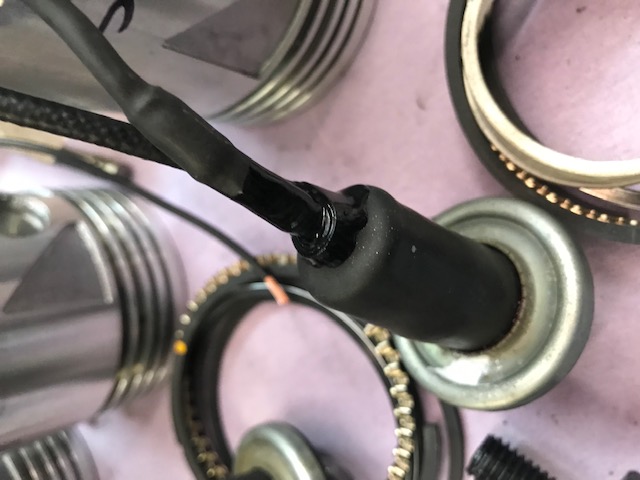
Took a break from the engine and worked on the dash instruments. Here I have added new ground wires to the dash lights. The rubber surround on these were cracked but still not falling apart. Not sure why I bought white liquid tape. :roll:

Image

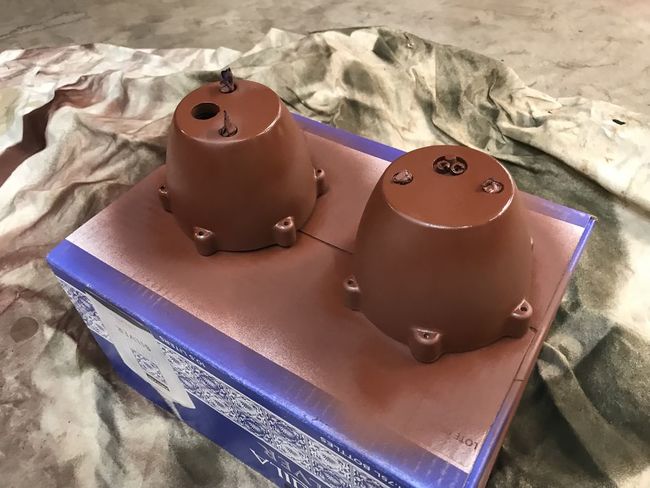
I added a rebuilt insides and power wire. I used large shrink tubing and pushed it over the old rubber housing:

Image

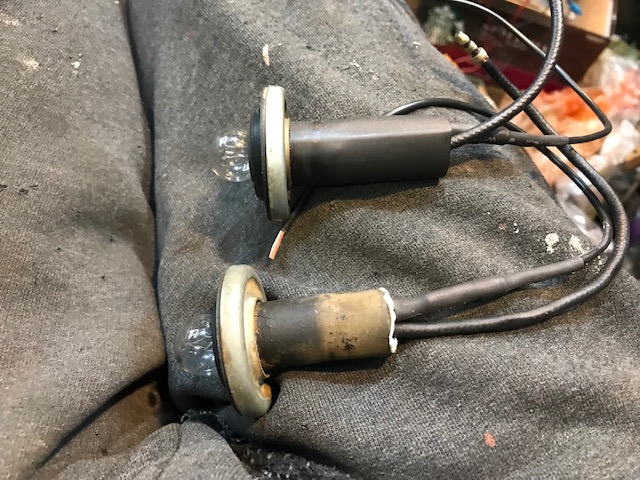
Now finished and with black liquid tape:

Image


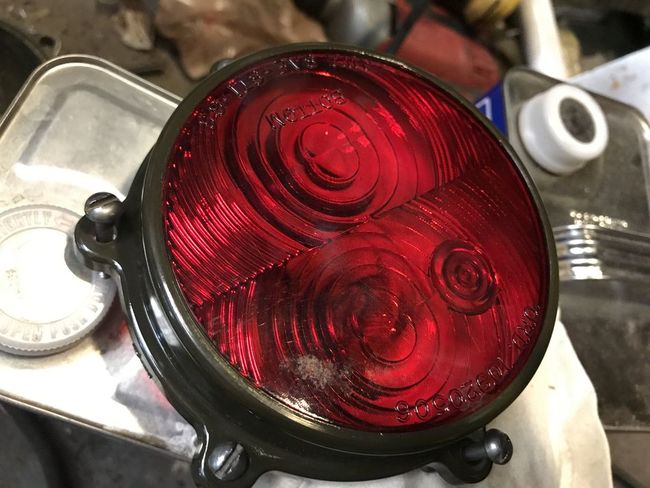
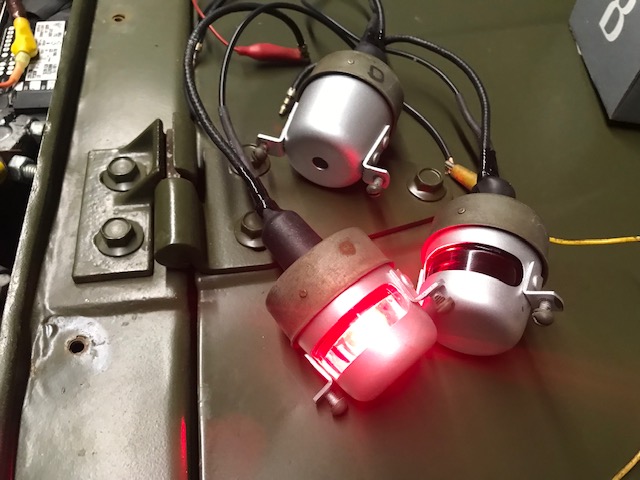
Testing out the finished dash lights:

Image

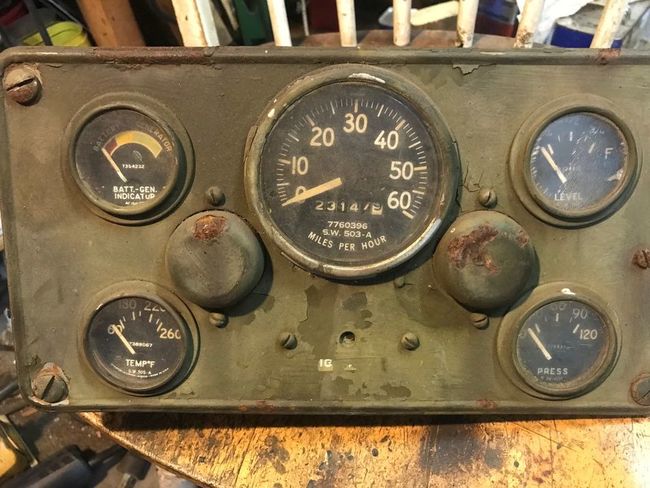
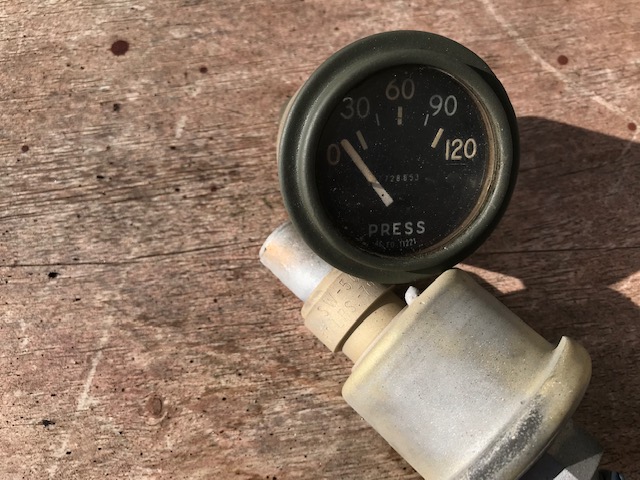
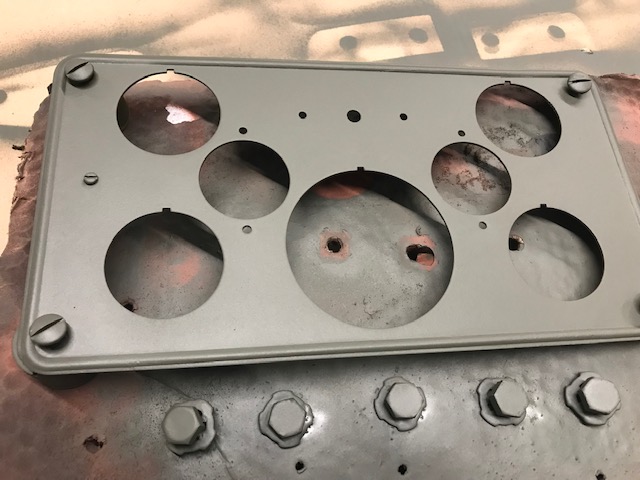
Gauges all cleaned and painted:

Image

Image

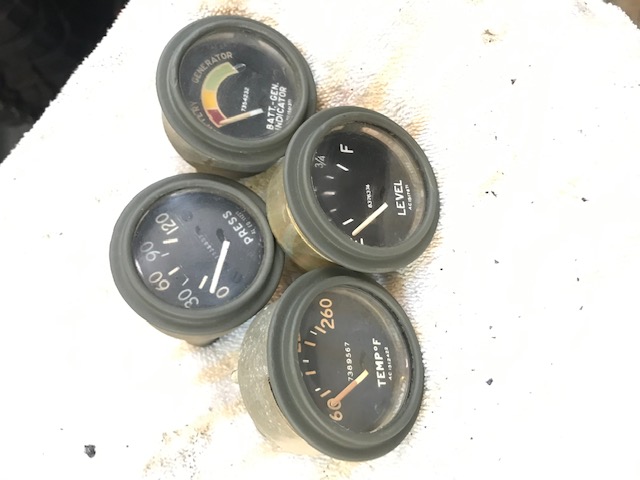
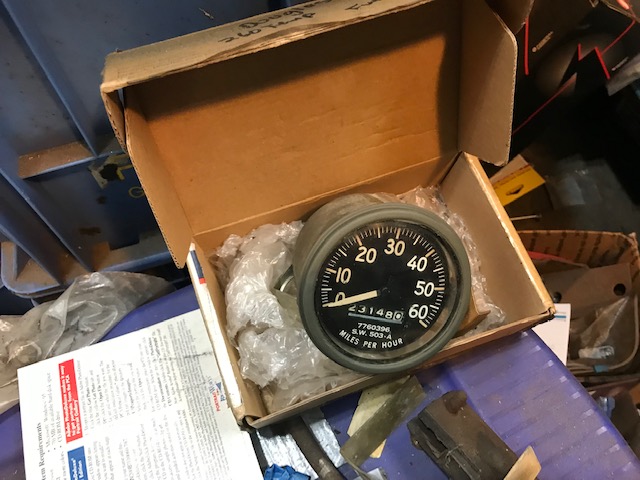
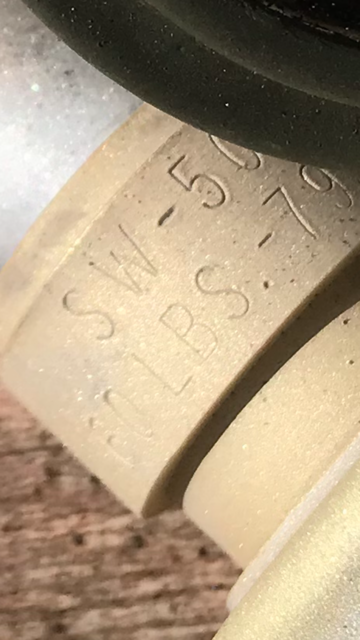
There is a problem here between the gauge and the sender. Can you see it?
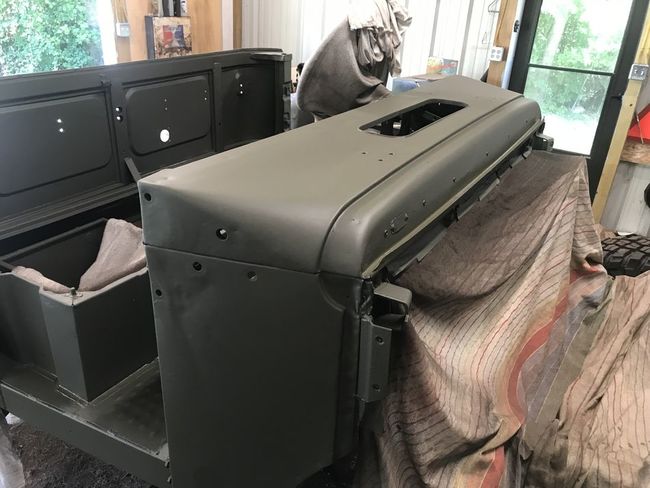
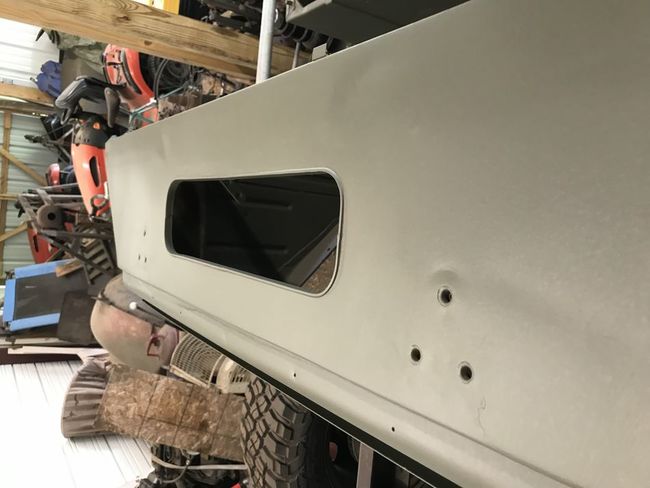
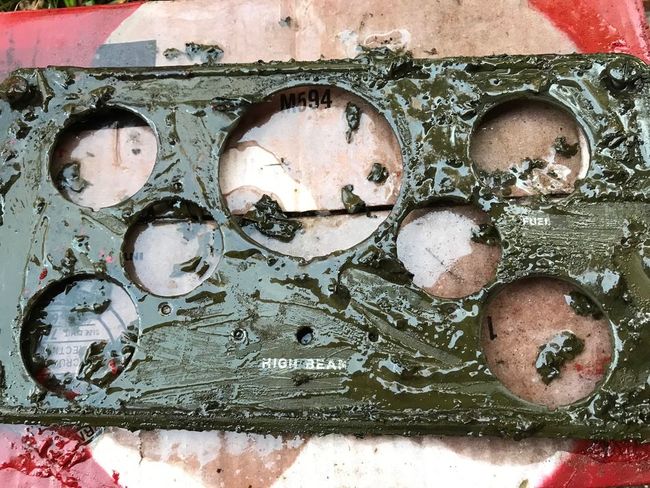
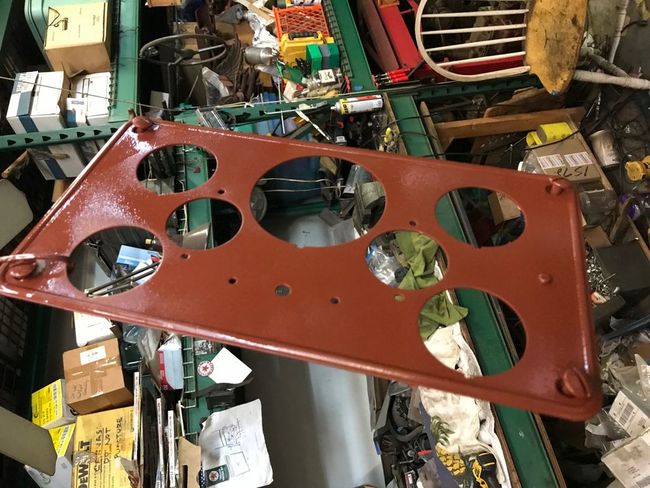
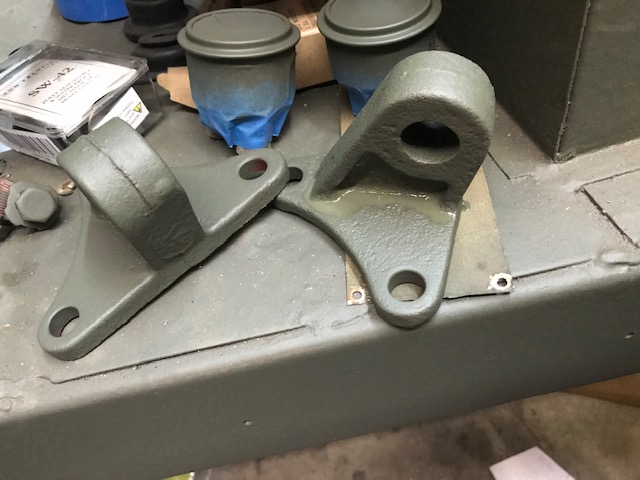
Image

Image

Painted stuff:

Image

Image

Image
47 CJ2A
53 M38A1
52 M37
51 M38
67 M416
?? M101A1
User avatar
Argie1978
SGT
SGT
Posts: 178
Joined: Fri Jan 21, 2022 6:39 am

Re: SC M37

Post by Argie1978 »

Very good job! At least some of us are moving! :lol:
Sebastian
(sorry, I only speak in METRIC)
Post Reply