Page 1 of 12
SC M37
Posted: Wed Jan 28, 2015 5:02 pm
by sturmtyger380
Okay my 2015 commitment was to start on the M37 project. I have been cleaning out a bay of the shop and had this rim that was lying around.
So I mounted one of my tires on it. Well its a start.

Tube and flap in.
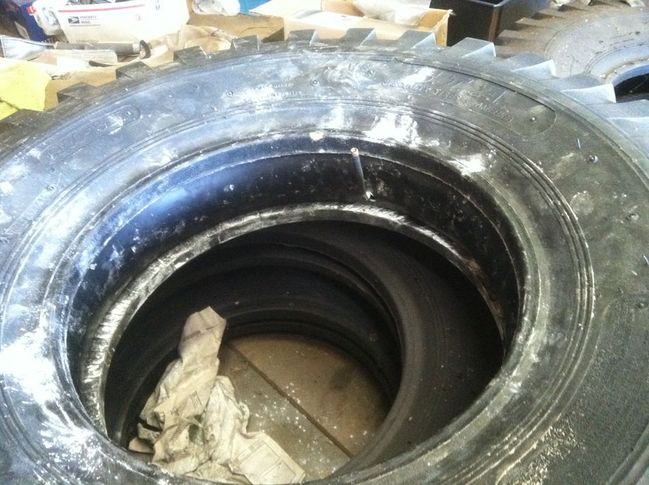
Tire placed on the rim.
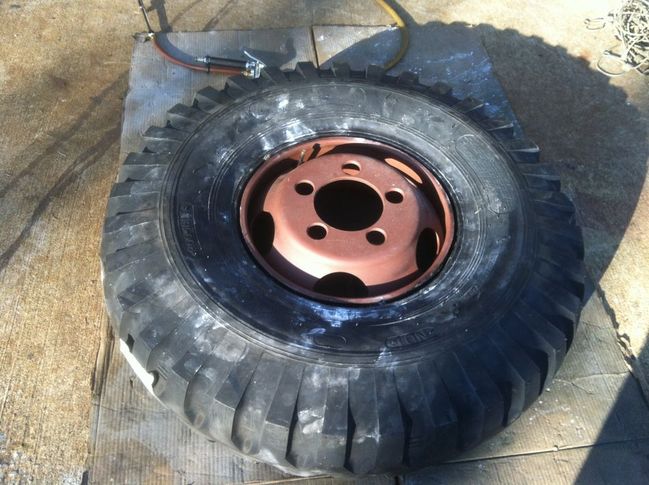
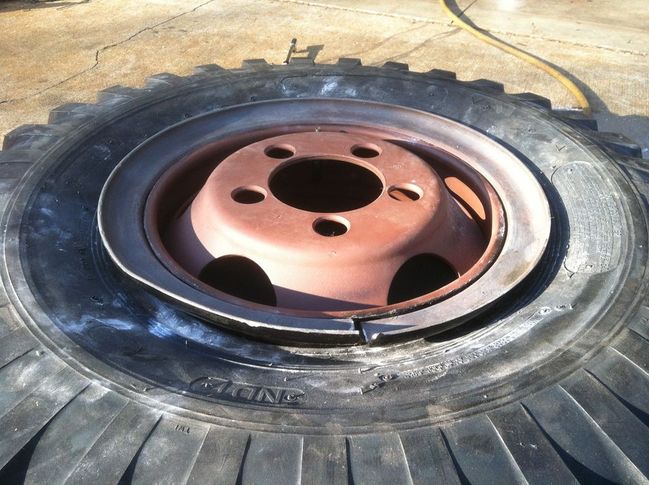
Stomped the lock ring down and confirmed it is in the grove.
Chained up ready to inflate.
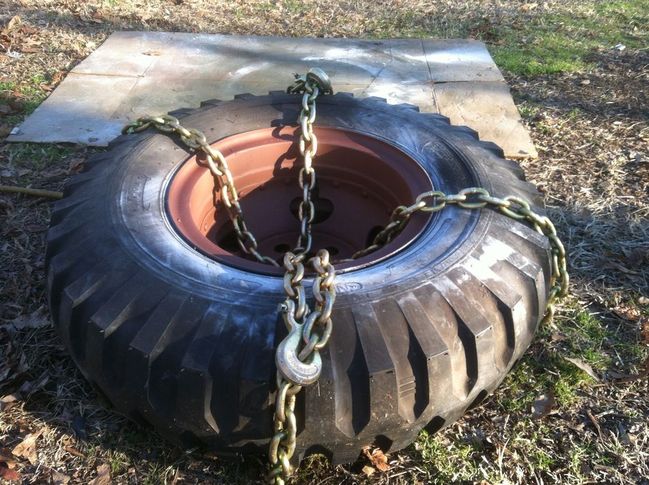
All inflated and now at 40 psi.

Primed the lock ring and wheel.
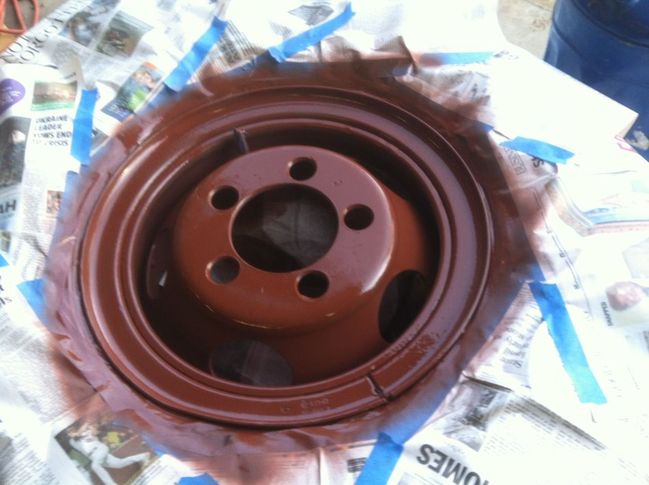
Re: SC M37
Posted: Thu Jan 29, 2015 7:27 pm
by m-37Bruce
Looking good, amazing what happens with no planning!
Re: SC M37
Posted: Wed Feb 04, 2015 9:42 am
by sturmtyger380
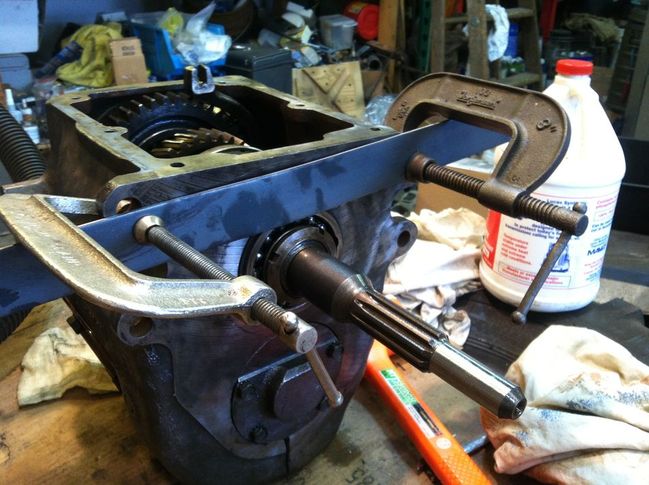
I got the spare transmission I have out and need to replace the input shaft as it has gotten rusty.
So since I will swap this one into the truck someday I can say I started?

Tool I made to pull the bearing and input shaft.

The tool worked well.

Looks like time for a sleeve.

Alan
Re: SC M37
Posted: Wed Feb 04, 2015 12:16 pm
by Elwood
Creative work on the main bearing removal tool.

I've been waiting on my machinist to make one as shown in the TM 9-8031-2 manual. If I can dig up a damaged bearing retaining nut (the left hand threads and the lack of brass drifts by previous owners seems to result in more than a few with munged up flats), maybe I'll weld it to a square plate with a hole in the center, tap a couple of holes on the sides, and have my own tool.
Re: SC M37
Posted: Wed Feb 04, 2015 12:56 pm
by T. Highway
Alan,
That's the way to adapt and overcome the bearing removal. Nice job!
Bert
Re: SC M37
Posted: Wed Feb 04, 2015 4:43 pm
by sturmtyger380
You don't have to tap holes in the plate just weld some nuts over holes in the plate.
I should have made it wider as I had to remove the snap ring on the bearing to allow it to push on the housing. Was just a millimeter off on each side, dang it.
Alan
Re: SC M37
Posted: Sat Feb 14, 2015 5:09 pm
by sturmtyger380
I decided to make my own reverse idler shaft puller.
Here is what I started with. You can see the original bolt and metal plate that holds the shaft in.
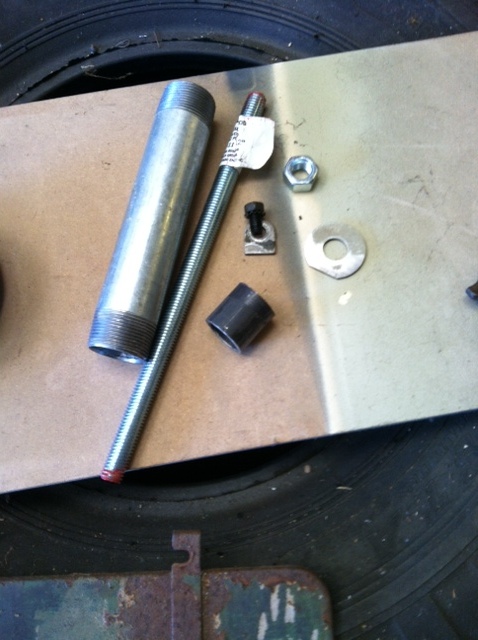
First step is the file the grade 8 washer to match the M37 metal piece and check to see that it fits in the slot on the shaft.
Then weld it to the one inch iron gas pipe.
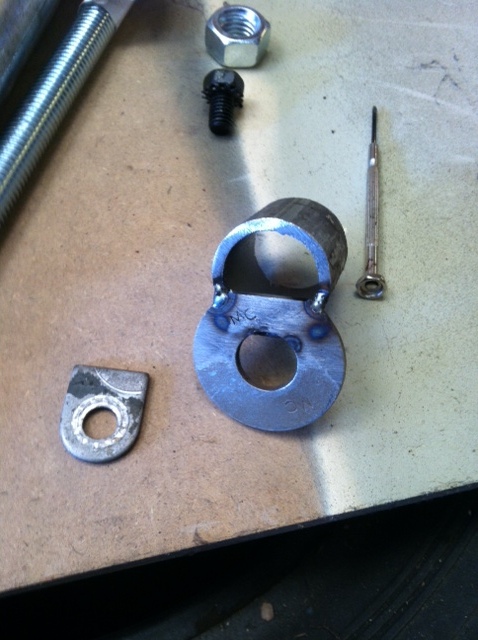
Then you have to grind off most of the washer down to the pipe. You might need to weld again after that.
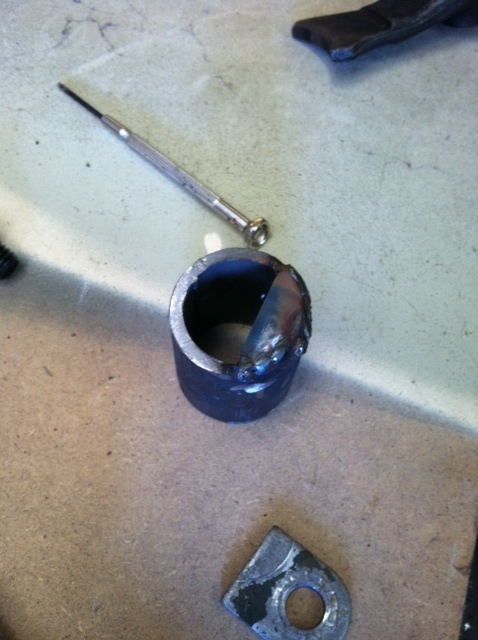
Now you have to grind off the back of the pipe so that the flange will slip into the reverse idler shaft slot.
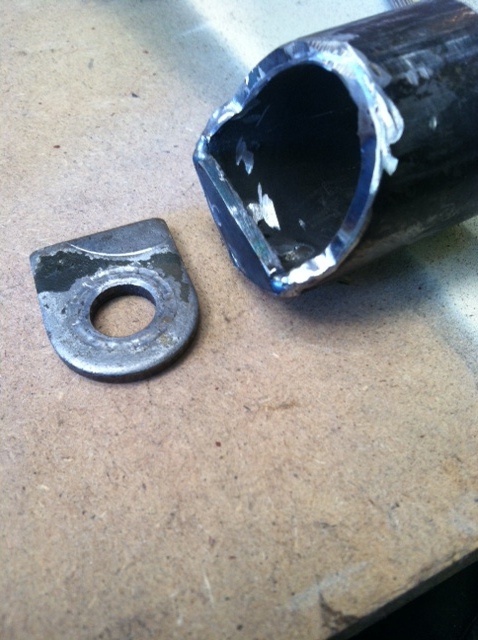
A 5/8 inch bolt fit perfectly inside the pipe.
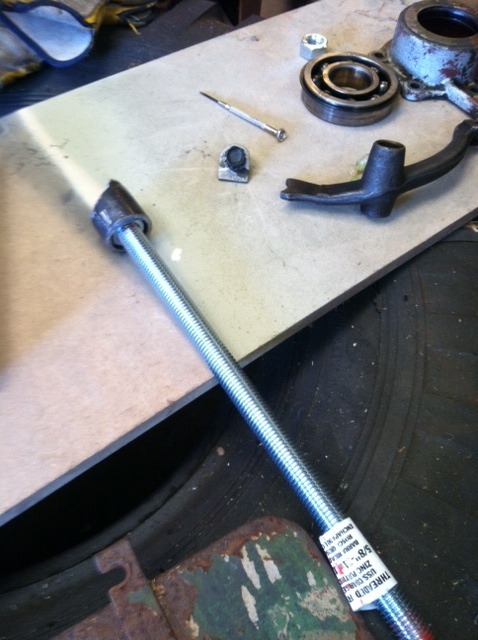
Now weld it in place.
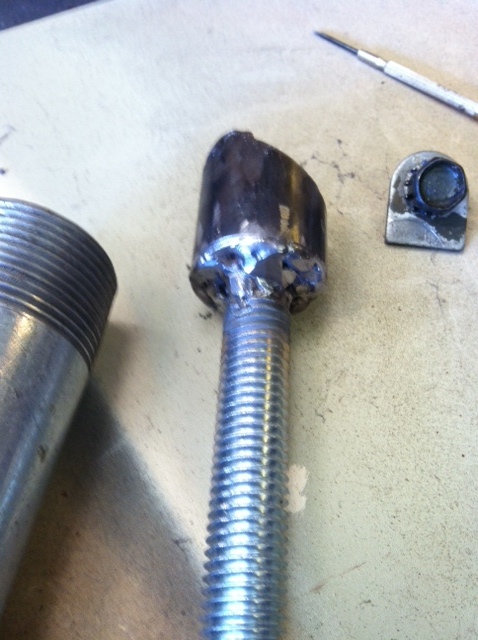
Now weld a grade 8 5/8 washer to the other end of the pipe and you have a new tool.

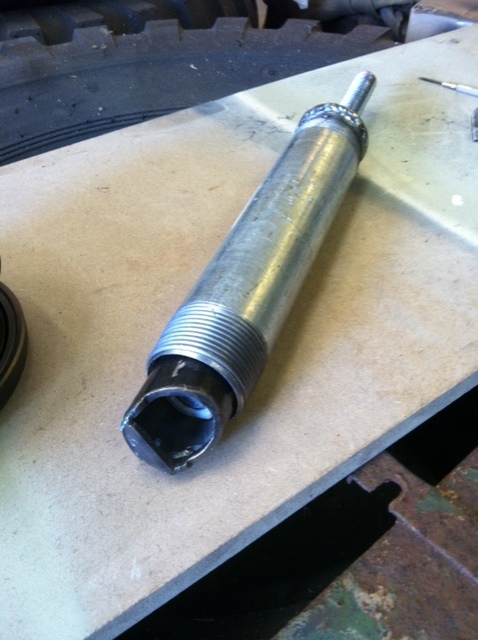
In action.
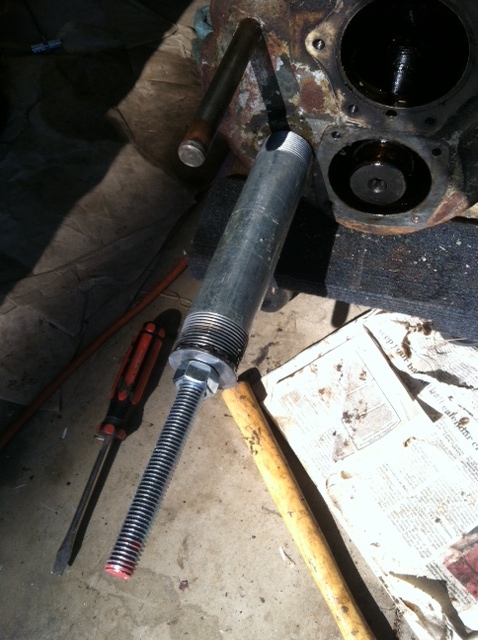
Next up is to make a tool to drop in behind the counter shaft to allow the front bearing to be pushed out.
Re: SC M37
Posted: Mon Feb 16, 2015 5:26 am
by T. Highway
Very nice job.
Bert
Re: SC M37
Posted: Wed Feb 25, 2015 5:20 pm
by sturmtyger380
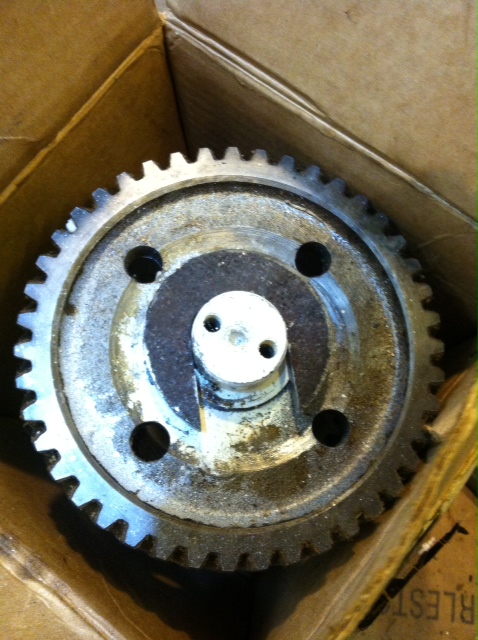
Here is the start for the Cluster Gear Bearing tool.
The bottom of the MAP gas canister matches the size of the bearing.
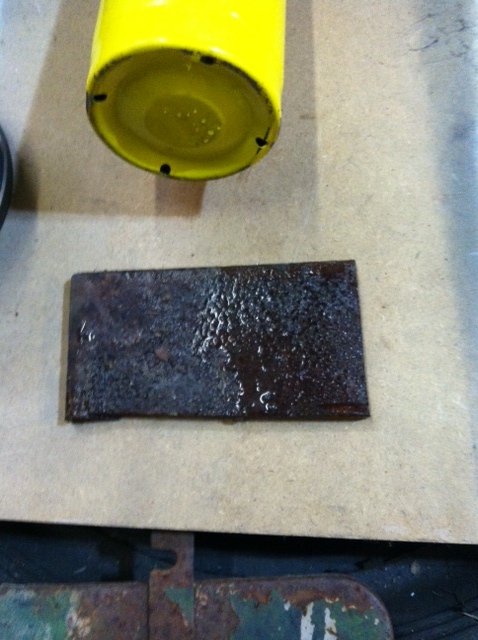
After cutting out the circle I painted a spare Cluster Gear end and outlined the shaft.

Now the job was to cut out the middle.
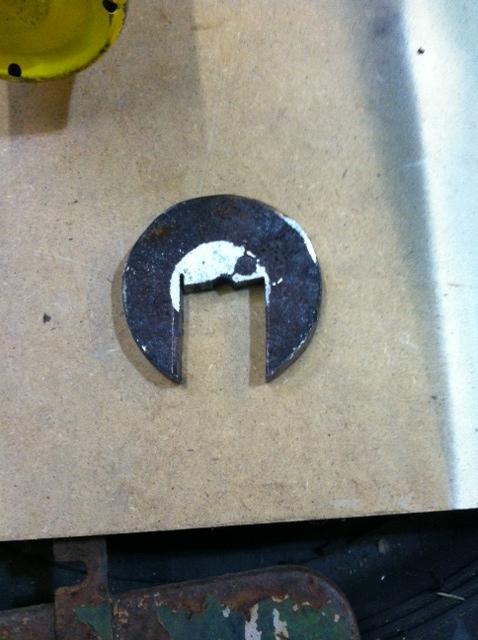
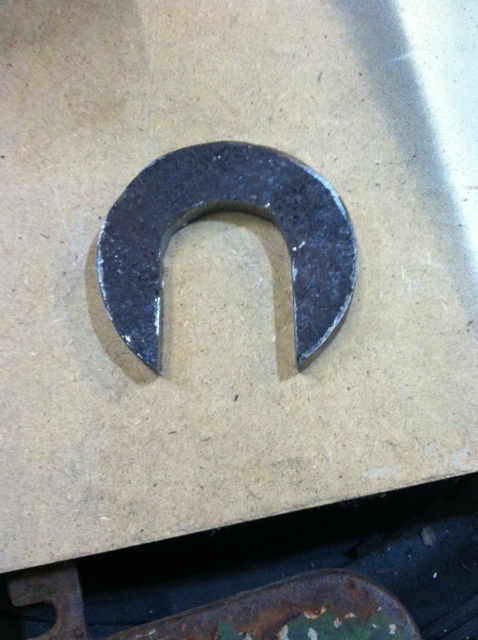
Checking the fit.
Ready weld the tab on.
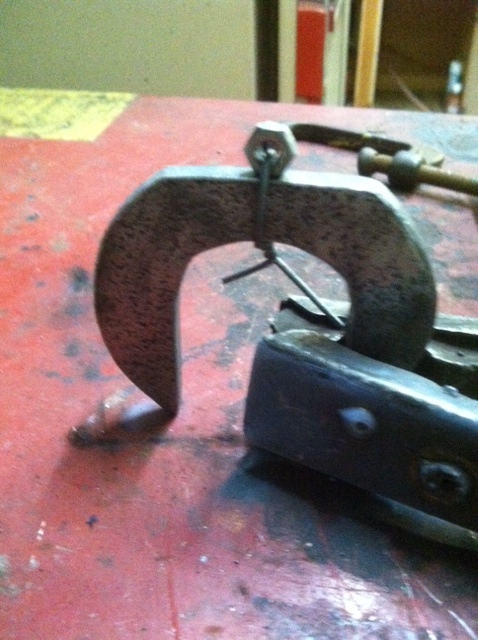
Finished tool

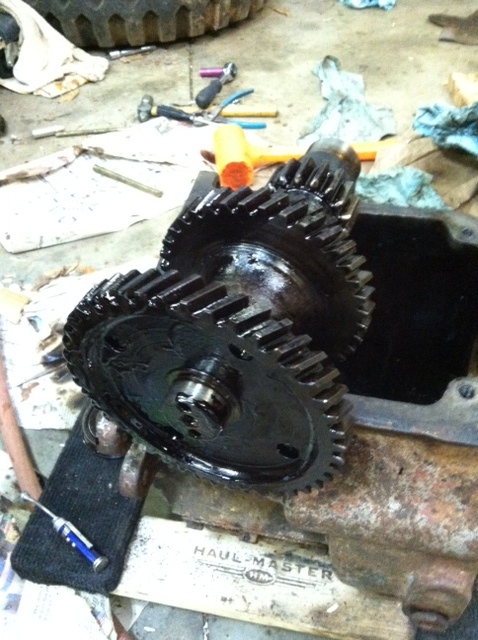
In action.

Re: SC M37
Posted: Thu Feb 26, 2015 5:11 am
by T. Highway
That looks like it worked out well.
Bert
Re: SC M37
Posted: Mon Apr 20, 2015 4:35 pm
by sturmtyger380
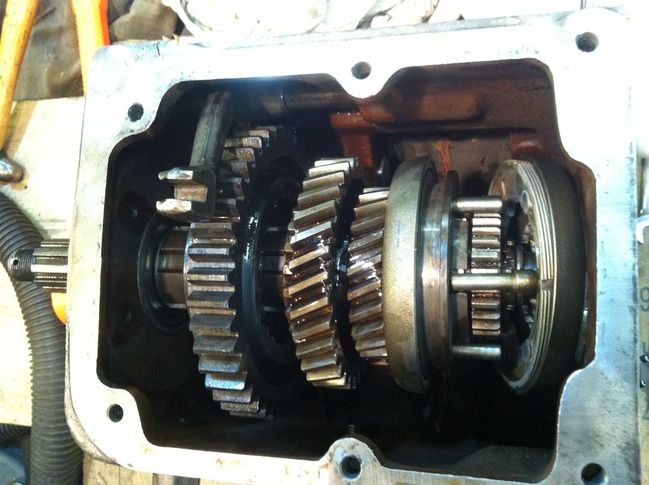
The last two weeks I spent putting it back together
All the Parts laid out.
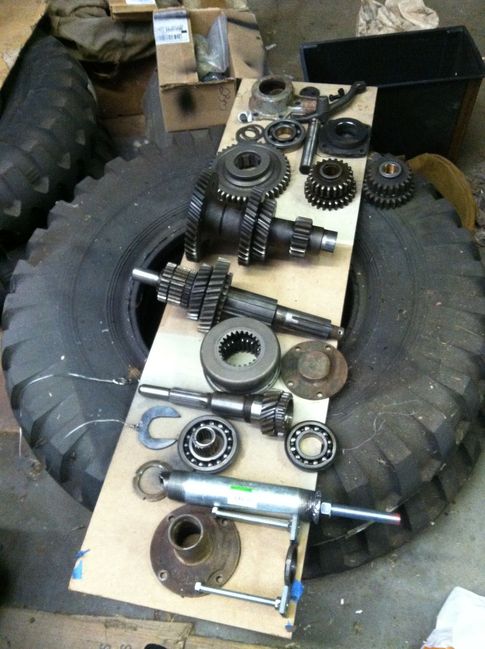
New Speedy Sleeve for the output flange:
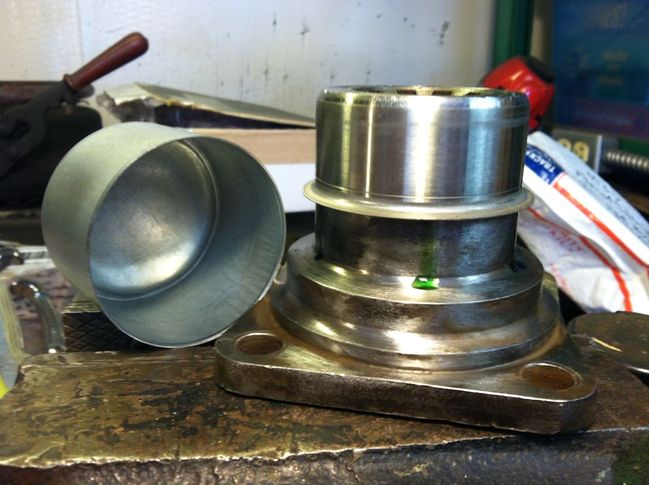
Starting to put it back together.
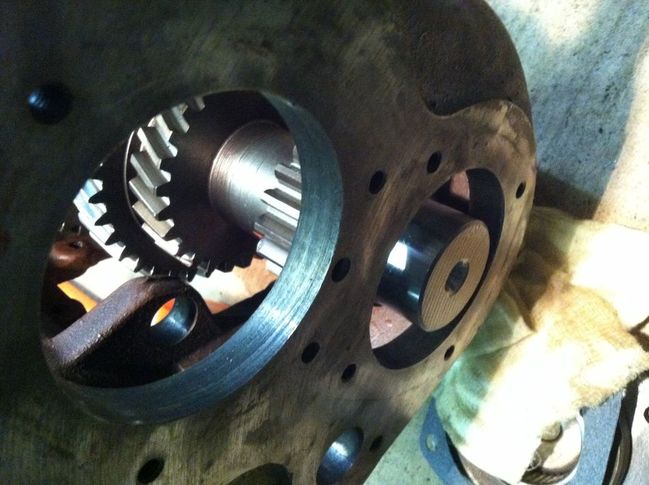
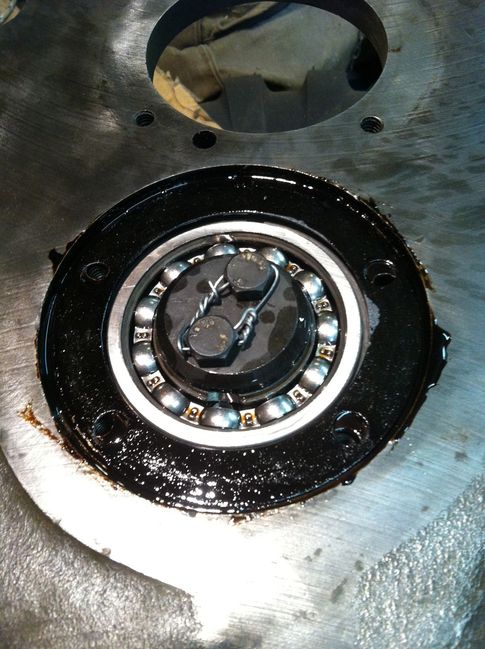
Putting the lock ring on the input shaft the bearing kept popping out.
So I used a flat piece of metal to hold it in place.
Nice!
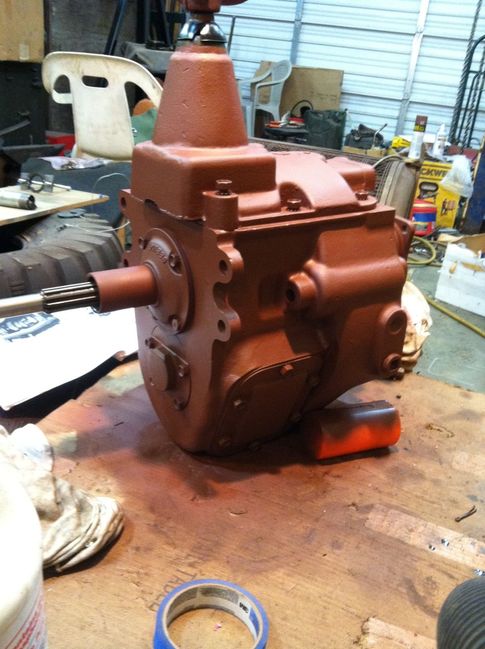
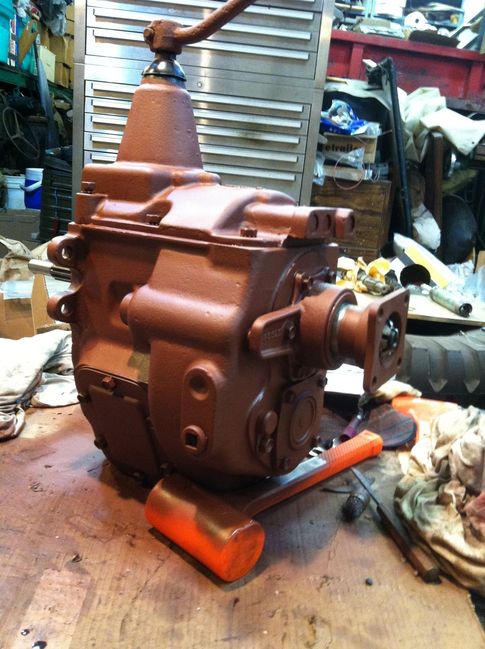
Alan
Re: SC M37
Posted: Tue Apr 21, 2015 4:07 am
by T. Highway
Alan,
Did you reuse the old top cover or get a new one?
The reason that I ask is, if you reused the old cover was the pin tight for the shifter or did you have to repair it?
Bert
Re: SC M37
Posted: Tue Apr 21, 2015 6:20 am
by sturmtyger380
Since I was rebuilding Chris's transmission at the same time he was nice enough to scrounge two NOS shift towers. So they are nice and tight.
In fact when I was trying to get the angle of the shifter stub right when in neutral I went out to my truck that still has the original transmission in it and moved the shifter around.
Geeze that old shifter tower must be really shot. I could see the pin holding the ball wallowing all around and really loose.

Re: SC M37
Posted: Wed Sep 14, 2016 5:45 pm
by sturmtyger380
Its been awhile since I posted anything about my truck. I have been taking things off of the engine and repairing as I go.
The starter on this truck was working but when I took it apart to replace the bendix the end plate that holds the brushes was horrible. I am on track to rebuild the starter.
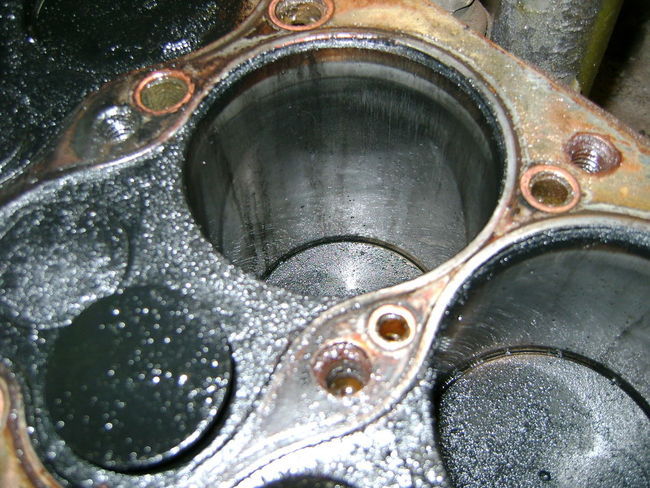
While waiting on parts I decided to pull the head on the truck and see how bad things were as the truck has low compression. I didn't find any bad wear and other than the carbon at the top of the cylinder walls I can't feel any ridge. You guys take a look and see if you think I can get away with a ball hone job and new standard rings.
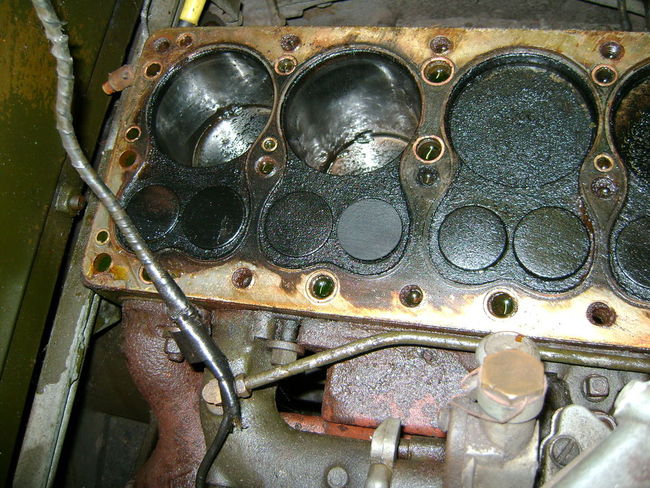
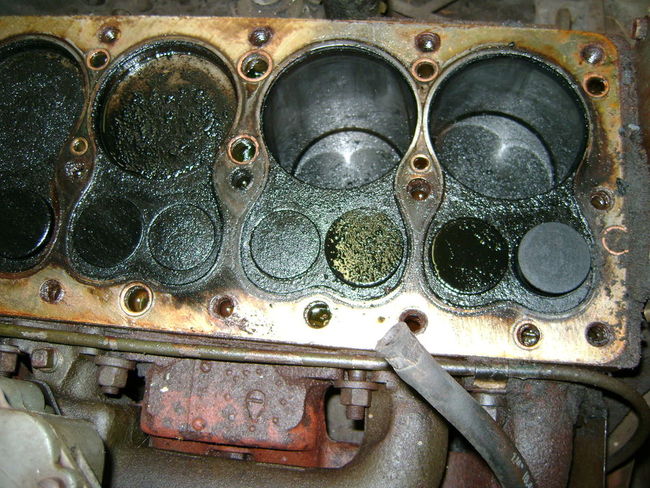
The Dark streaks on this image are from some oil that I sprayed to protect the walls.
Re: SC M37
Posted: Wed Oct 19, 2016 10:55 am
by sturmtyger380
My 1953 M37 I am sure went though the rebuild program and was still in the Army up to the 1970's. The engine has a rebuild tag on it from 1973.
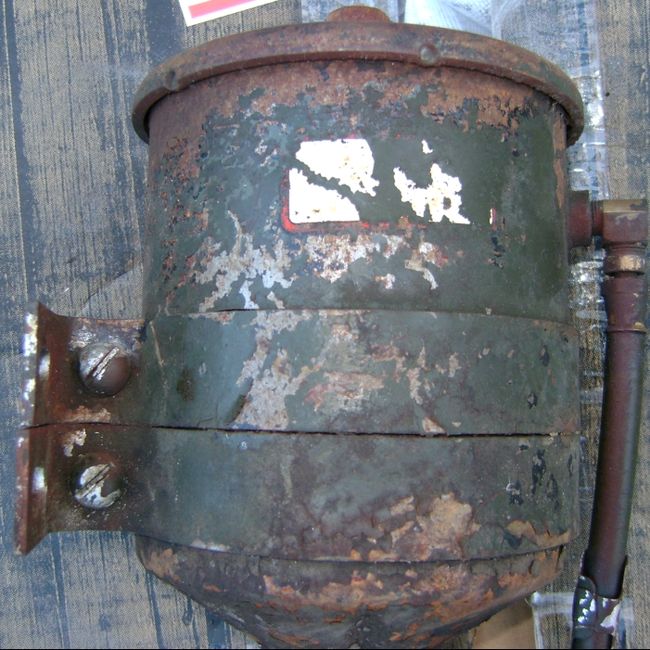
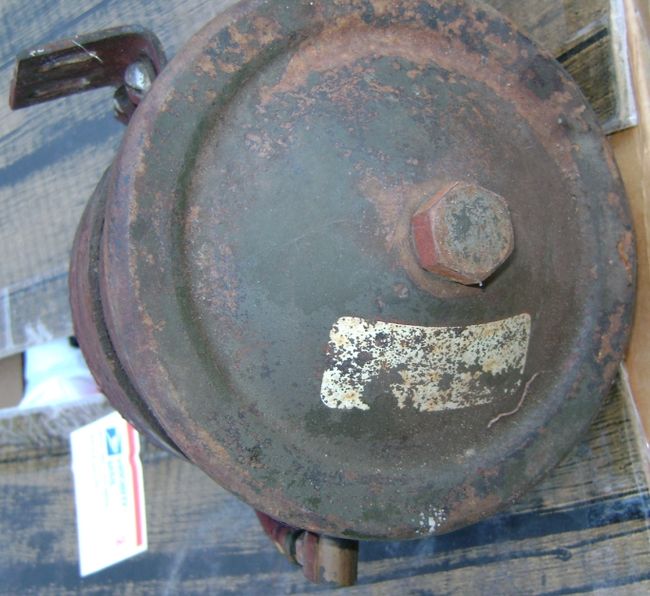
The housing looks green but I see black paint peaking out in spots.
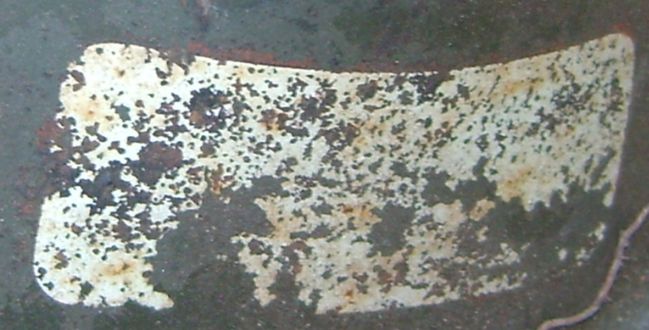
I am trying to figure out what the label on the oil filter housing was as it does not look like the Fram ones I have seen. Any idea what the label on the side and top should say? Brand?
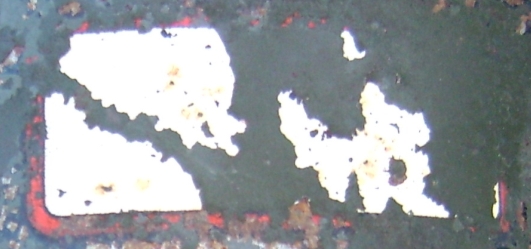
Top
Alan


